Dating still rocks on push ads! Nothing is going to change this tendency. Private messages show promising results in such a specific vertical. The main thing: don’t forget to change the creatives in time! It looks a little bit weird when the same girl writes a user every day.
Push ads are one of the best options when you are on a limited budget or a newbie in affiliate marketing. This traffic moderation is more loyal that is why the last thing you need is to worry about account bans.
How to start push ads dating? Let’s see the best practices to convert dating offers with push ads! After reading this dating push guide you’ll understand how to work with push ads in common and how to run Dating on it.

This article is written by Atilla O’dree, an affiliate marketing expert.
How to promote Dating offers on push ads: PRO tips
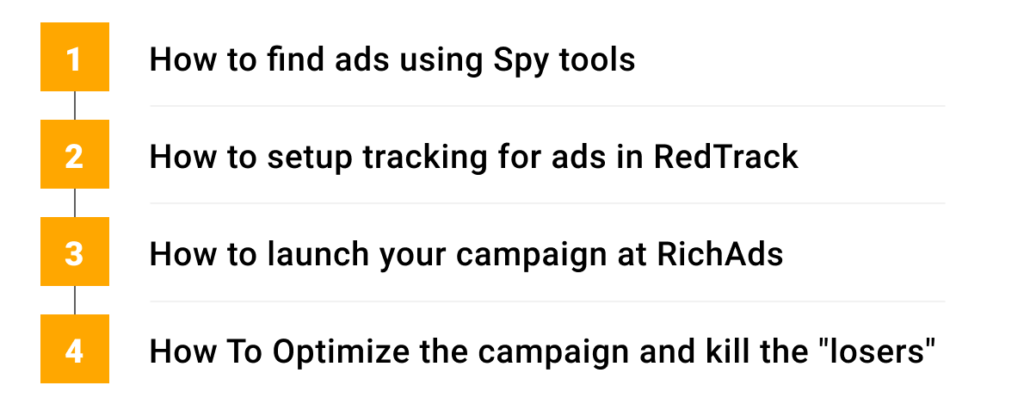
Here’s a a workflow to remember on advertising Dating vertical’s products via push-notifications, broke-down into simple steps:
What is RichAds?
Ad network for telegram ads,
high quality push and popunder ads,
domain redirect, native and display traffic source,
buy push ads at $0.005 (CPC), pop ads at $0.5 (CPM),
domain ads costs start from $1.5 (CPM), native ads — from $0.001 (CPC),
ad network offers large volumes of traffic in more than 200 geos from Tier 3 to Tier 1.
Step 1. How to find Dating ads using spy tools
So, how to convert Dating offers with push ads? One of the most important things in the affiliate marketing (especially if you are a beginner) is to start out with offers that are already working well for other affiliates.
The easiest way to find out what’s working and what not, is by using spy tools like Adplexity, which will allow you to see what other affiliates are running and making money with.
Since we want to run a Dating campaign on Push traffic, Adplexity is the best spy tool for this.
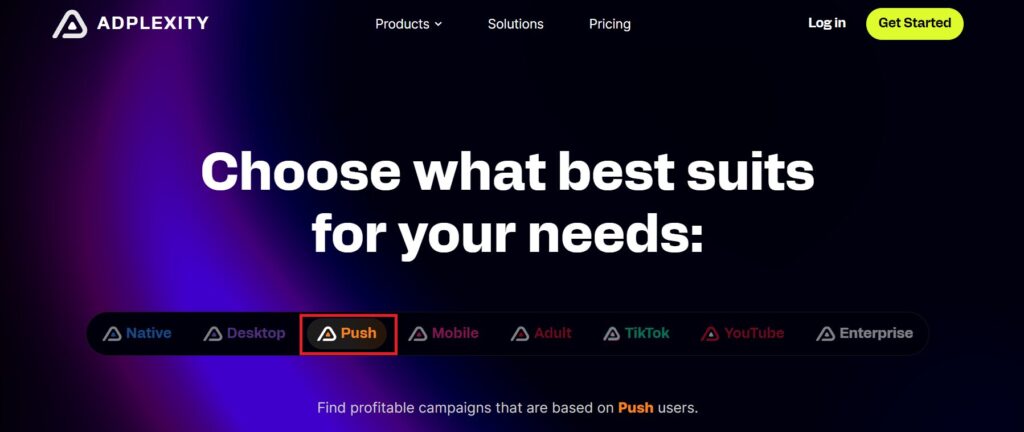
When you load up Adplexity Push, it will show you a bunch of the most recent Dating push ads examples. If you don’t know yet what you want to run you can just browse through and see what pops up to get some ideas.

But we know exactly that we are going to run Dating offers on RichAds Push, so we want to find the best performing dating ads and landing pages on RichAds.
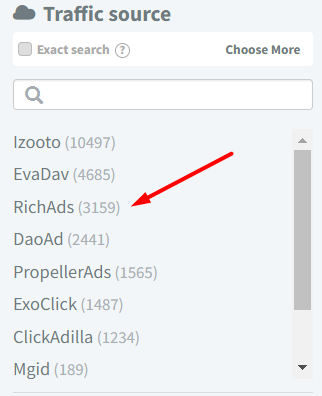
First, scroll down and find “Traffic source” in the left sidebar, and select RichAds.
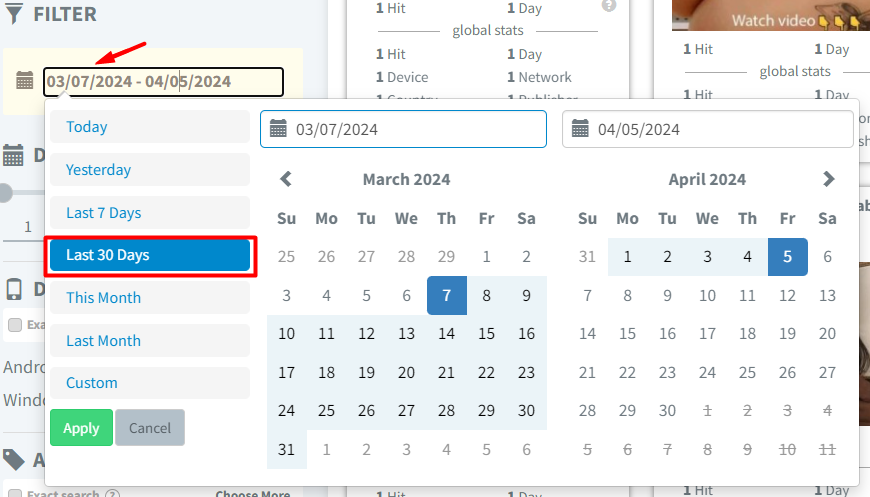
Then go to the Date Filter and set it to “Last 30 Days”.
Next, search for the keyword “Dating” in the search bar.
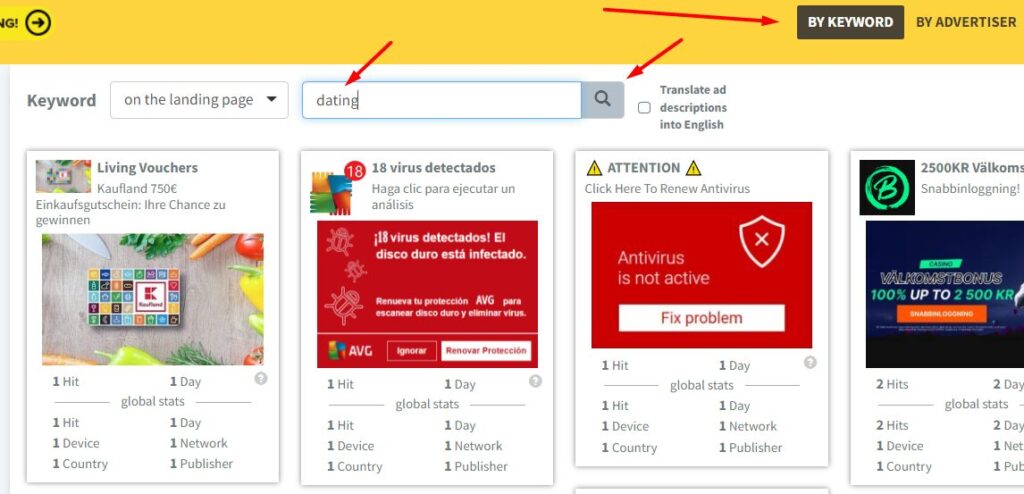
And Adplexity will show you a bunch of dating ads that are running on RichAds. This is great, but we want to find the very best ones, so head over to the drop-down menu in the top right corner of the page, click on it and select “Received most traffic“.

By doing this, Adplexity will show you the best-performing Dating ads from the last 30 days.
To see the complete funnel, click on an ad, and then you will see the texts, the image, the targeting, and all the things like that.

To see the landing page, click on Show More, and click through the redirect chain.

Then what I usually do is check the first 3 or 5 ads that received the most traffic, save the ad images and texts and write my own ad copies based on those.
Atilla o’dree
I do the same thing with the images, I create very similar ones based on the top performers.
Then I also collect the top 3 landing pages, download them and send them to BannersLanders for cleaning the code, because there might be malicious scripts in these landers and if you don’t get rid of them, they might steal your clicks and traffic.
I also ask them to change the images and the texts here and there to make the landers unique.
When my landers are done, I upload them to my server and add them to my tracking software, which is Redtrack.
What is RichAds?
Ad network for telegram ads,
high quality push and popunder ads,
domain redirect, native and display traffic source,
buy push ads at $0.005 (CPC), pop ads at $0.5 (CPM),
domain ads costs start from $1.5 (CPM), native ads — from $0.001 (CPC),
ad network offers large volumes of traffic in more than 200 geos from Tier 3 to Tier 1.
Step 2. How to set up tracking in RedTrack
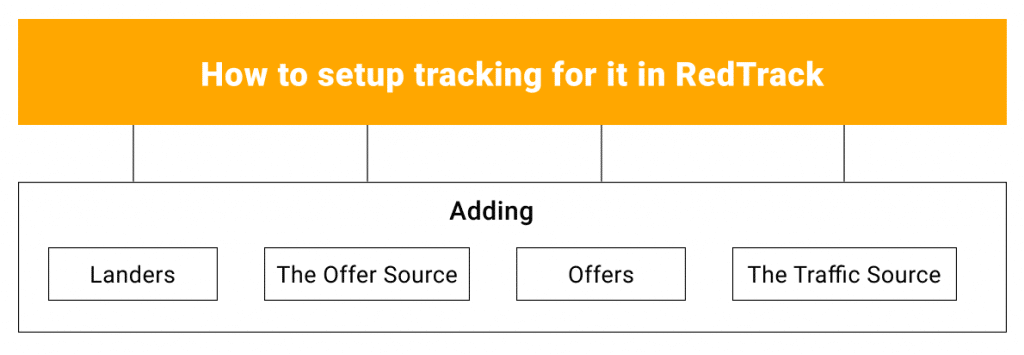
1. Adding landers
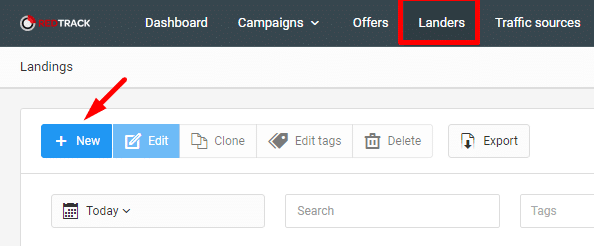
To add your Landing pages in Redtrack, click on Landers in the top menu and add new.
Name your landing page however you like, copy and paste your lander’s link in the URL box and click save.

That’s how you add your landers to Redtrack. But to create a tracking campaign you need to add 3 more things: Offer source (CPA network), Offer, and Traffic Source (RichAds).
2. Adding the offer source
Redtrack made this step super simple with their pre-built network templates, so all you have to do is to click on Add New Offers Source, and select the one you are working with, and click Add.
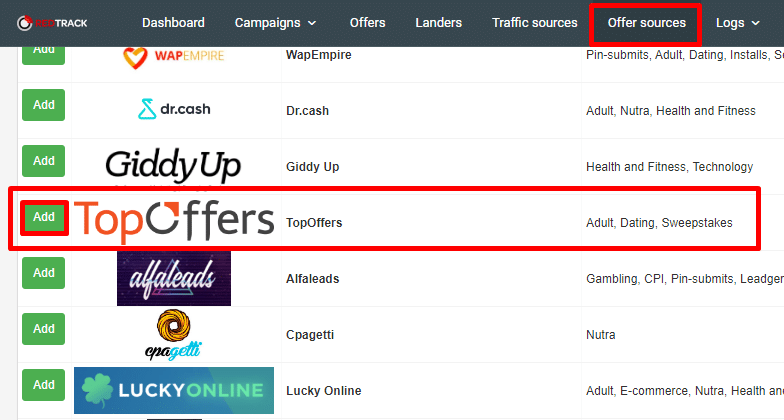
Redtrack will automatically create a postback template based on the network’s parameters.

3. Adding offers
To add the offer you are going to promote, click on offers and add new. Then type in the offer name, select the offer source, add your unique offer URL, and make sure the URL includes the click_id parameter. This is very important to be able to track your campaign corrently!

In my example it’s data2 so I add this to my offer URL data2={clickid} and my URL looks something like this:

4. Adding the traffic source
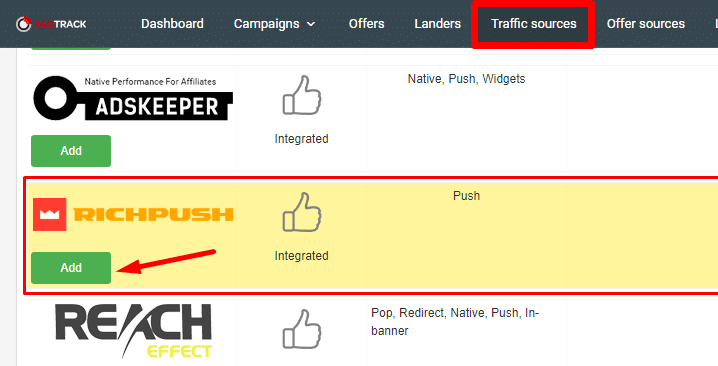
Adding the traffic source is very simple, just like at the offer sources, Redtrack made pre-built templates for traffic sources as well.
So just go to Traffic Sources, add new, find RichAds (RichPush) and click on the green Add button.
The last thing we need to do in Redtrack is to create the tracking campaign, so go to campaigns and create new.

Then name your campaign, select the traffic source (RichAds).

Then you can set up your funnel by selecting the landing pages and the offer.

I usually start with 3 landing pages and split the weight equally, and Redtrack will automatically split test the landers.
You can do the same thing with the offers if you want.
Once you’re done save your campaign and copy the Click URL and save it for later.

This is the URL you are going to promote.
What is RichAds?
Ad network for telegram ads,
high quality push and popunder ads,
domain redirect, native and display traffic source,
buy push ads at $0.005 (CPC), pop ads at $0.5 (CPM),
domain ads costs start from $1.5 (CPM), native ads — from $0.001 (CPC),
ad network offers large volumes of traffic in more than 200 geos from Tier 3 to Tier 1.
Step 3. How to launch your Dating push ads campaign at RichAds
Now it’s time to log in to RichAds and create a campaign. Once you logged in, click on New campaign and select Push.
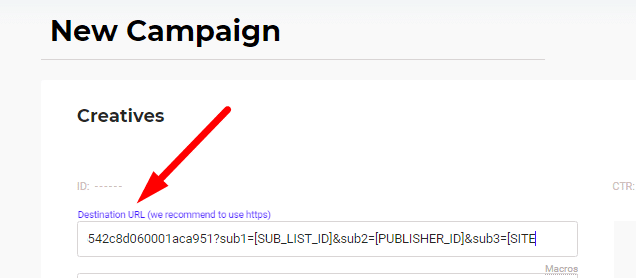
When you create a new campaign on RichAds, you are going to start with setting up your ads. So copy the Redtrack campaign URL you saved and paste it in the Destination URL box.
Next you need to add your images and ad texts. I usually start with around 10 ads, and then get rid of the poor performing ones later.

Next, we need to set up tracking, we can set up the Postback.
For the Main Conversion tracking, select Postback request, and choose Redtrack.

The postback URL should be automatically set since in Redtrack we used a built-in template in the traffic source setup (RichAds), but if it’s not there for some reason.
What you need to do is to copy the conversion URL, then go to Redtrack, select RichAds from the Traffic Sources tab, and paste the link in the S2S Postback URL box:

Next you need to set your targetings (Country, region, device).

If you want to target multiple device types, like mobile and desktop for example, always create separate campaigns for them. Never target both device types within one campaign.
You can select advanced targeting at the bottom of the page for more targeting options, like OS, Browser, Browser language, etc.
For multi-language countries prepare creatives in different languages and set up the Browser language. It will make your campaign more profitable.

You can also add sources at the bottom of the page.

And here you can select from the pre-built Whitelists that you can get from the RichAds’ managers.
They are also advice to start campaigns on Premium sources.
And finally I’m going to set the Daily Budget and the CPC (cost per click). The best strategy is to spend the budget evenly throughout the day. It makes you an idea when your users are mostly active.

Next I click on Create and that’s it. Now my campaign is pending review and will be live shortly.
What is RichAds?
Ad network for telegram ads,
high quality push and popunder ads,
domain redirect, native and display traffic source,
buy push ads at $0.005 (CPC), pop ads at $0.5 (CPM),
domain ads costs start from $1.5 (CPM), native ads — from $0.001 (CPC),
ad network offers large volumes of traffic in more than 200 geos from Tier 3 to Tier 1.
Step 4. How to optimize the campaign and kill the “losers”
After the campaign has been live for some time, I check the stats in Redtrack and see if I can start optimising.
I start with Creatives and Landing Pages.


Then I start analyzing and I’m looking for any significant data which shows that one creative is better or worse than others.
If I see that one of my creatives is significantly worse than the others I cut it, and replace it with a new one, which is very similar to the best converting ones, this way I can make sure that I’m going to end up with the very best creatives.
It same thing with my Landers. Remember I started with 3 Landing Pages, I keep them in rotation until I end up with only one, which is going to be the very best one.
Next, I’m checking the placements (Subscriber List IDs) and I cut the ones that spent more than the CPA payout and got NO leads.

After that I let the campaign run for a couple more days with the same budget to get more data. Then I’m going to optimize further, doing the same steps and after that, I’m going to scale the profitable ones.
Conclusion
Running dating campaigns on RichAds makes sense because the audience is what the best for Dating offers. And spying confirmed this, we saw tons and tons of dating ads being run.
Thanks to the vast reach of RichAds, there’s many geos to play with.
Playing around in Tier 2 and Tier 3 geos like Asian countries, African countries can yield great opportunities for those willing to put in the work, order translations, and get landers localized.
What is RichAds?
Ad network for telegram ads,
high quality push and popunder ads,
domain redirect, native and display traffic source,
buy push ads at $0.005 (CPC), pop ads at $0.5 (CPM),
domain ads costs start from $1.5 (CPM), native ads — from $0.001 (CPC),
ad network offers large volumes of traffic in more than 200 geos from Tier 3 to Tier 1.


