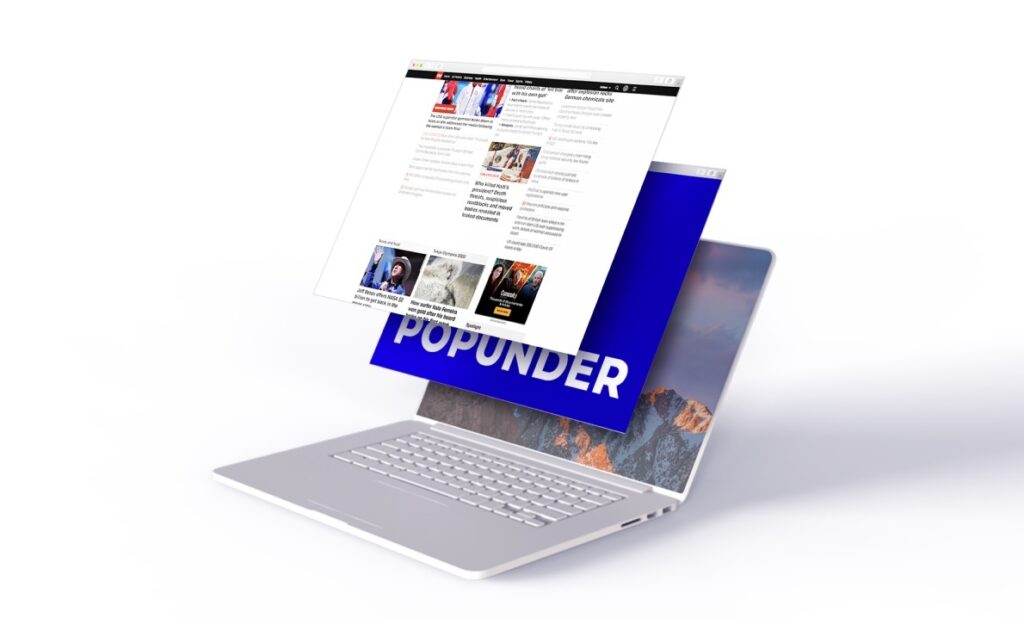
Peculiarities of work with ad offer on popunder ads
How to launch a successful pop ads campaign? We know the answer.
The success of any pop ads campaign starts at 5 key-points. Without these elements, you will not launch and optimize your campaign successfully. By the way, optimization plays the most important role while working with popunder traffic. It’s hard to make a profit without switching off non-converting sources.
To start a successful popup or popunder campaign you need to consider them all!
5 things you need to launch an effective popunder campaign:
- Choose the offer for the mass usage.
Any pops campaign launch starts with the choice of the offer. Pop traffic is very fragmented. Offer page will be shown to absolutely different people, that’s why it’s better to choose offers that are interesting for a wider audience. Choose popular brands, consumer products, and verticals that cover people’s daily needs. - Choose the source of high-quality pop traffic.
Pop traffic has been around for ages, thus the amount of sources that provide it is unthinkable. We recommend choosing the best source of quality pop traffic, for example RichAds ad network. - Pick tracker with maximum functionality.
Having a top-notch conversion tracker is really useful to know where the traffic comes from and disable non-converting sources. - Pick the best converting landing page.
The key element in conversion on pops is the landing page the user will see on the tabs opened. Remember that the user probably doesn’t expect to see the offer. A simple and clear landing page with large text you can read and understand in seconds is the way to successful conversion on pop traffic. - Ensure the stability of the landing page hosting.
Make sure that the hosting for the landing page can handle many visits at the same time and is quick to load. Since users take less than a couple of seconds to evaluate the usefulness of the offer, they won’t wait for it to load!
You can use TimeWeb for a free domain, and integrate CDN or VPS for quick loading, like CloudFlare. Also the optimal weight of the landing page must be within 200 Kb.
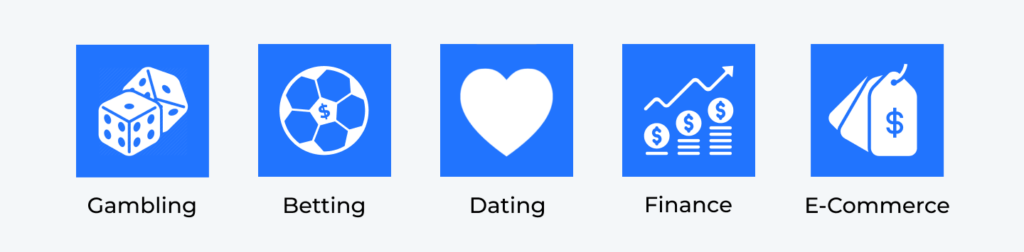
Top verticals for pop ads advertising campaign launch:
There are several verticals that convert really well on popunders, and have been proven the best for this ad format in years! Choosing an offer from any of those is a safe choice to get profit on pop ads.
- Gambling;
- Betting;
- Dating;
- Finance;
- E-Commerce.
Important: to keep up on the current trends for pop traffic, check our article on the best geos and verticals at RichAds that we update every month based on our advertising platform data!
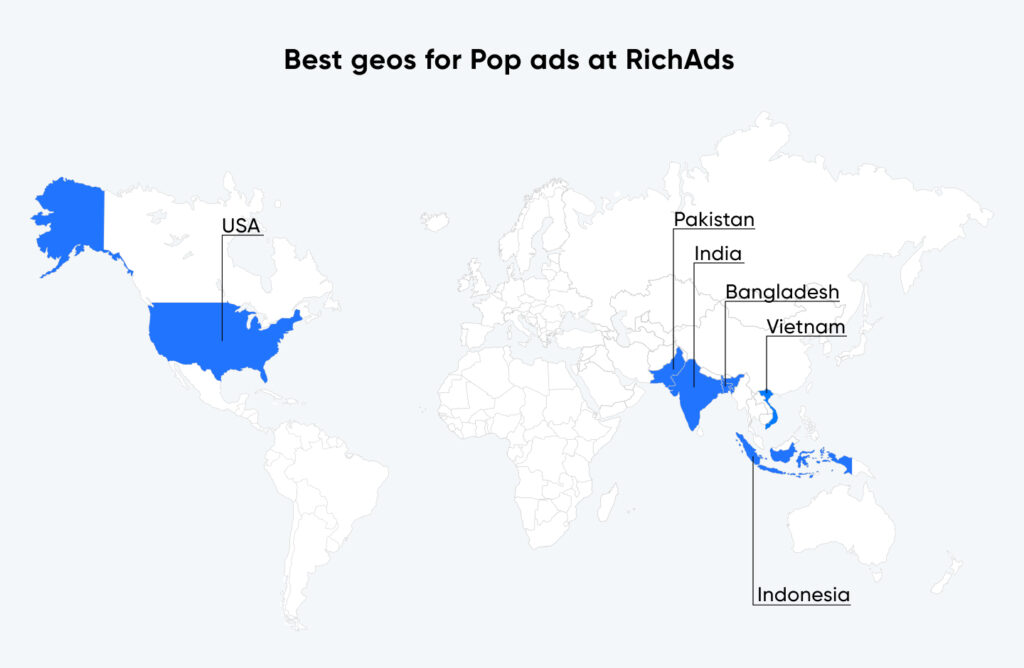
According to the recent data, top GEOs for pop campaign targeting are:
- Indonesia;
- USA;
- India;
- Bangladesh;
- Vietnam;
- Pakistan.
What is RichAds?
Ad network for telegram ads,
high quality push and popunder ads,
domain redirect, native and display traffic source,
buy push ads at $0.005 (CPC), pop ads at $0.5 (CPM),
domain ads costs start from $1.5 (CPM), native ads — from $0.001 (CPC),
ad network offers large volumes of traffic in more than 200 geos from Tier 3 to Tier 1.
How to create a pops ads campaign
Now we will unveil the most essential steps for a pop ads campaign starting. This includes not only the initial setup of a popunder campaign, but everything that comes along in order to get success with it!
One of the best options to get closer to profit on pop ads is contacting the managers for help! After depositing at least $3000 to your RichAds account — you get a personal account manager, who we recommend to contact before you start a popup or popunder campaign. The managers can help you to setup a popunder campaign properly, choose the optimal CPM bid along with providing actual whitelists exactly for your offer!
Recommendations to run a pop campaign by
Even before launching a campaign you need to start thinking of further optimization, as it’s the most crucial part to get actual profit. So it’s important to adjust your campaign that way, the optimization process will be as seamless as possible.
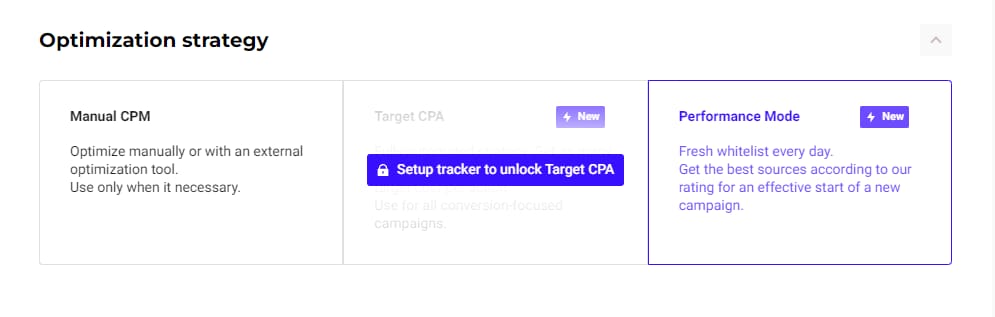
Before starting a popunder campaign at RichAds you will get several options on optimization strategy: Performance Mode, Manual CPM, and Target CPA.
- Performance Mode (Recommended) — provides your campaign with weekly fresh whitelists, so you don’t need to optimize everything by hand. It’s powered by RichAds inner statistics that will detect the most effective sources for your campaign. Performance Mode is suitable either for beginners or affiliate marketers who want to get a safe choice.
- Manual CPM — is the option that demands setting campaign parameters by hand. It requires sufficient expertise and deep knowledge. We strongly recommend avoiding starting your campaign in Manual CPM unless you’ve done it before, or have a backup from your manager.
- Target CPA — is the option that allows you to get better optimisation on sources and campaign parameters, but only combined with results obtained by tracking. We recommend using it only if you have experience working with conversion trackers.
Is integration of a conversion tracker to campaign required?
As we recommend starting in Performance Mode, integrating a post back tracking remains optional but not required. But to get the most of your popunder campaign — conversion tracking is among the most important features. Integrating tracking gives you access to such features as Micro bidding and Automated rules, as they work properly only with tracked data.
Check the tag ‘Affiliate tracking tutorials’ to learn how to set a post back and integrate it with RichAds platform!
How to setup a pop campaign: detailed guide
Now we will show you how to setup a pop campaign on RichAds platform, providing you with detailed explanations step-by-step! We will be overlooking the process according to the Performance Mode option set, as it’s the most effective way to run a pop campaign.
1. Add destination URL
Insert the URL address of your landing page. Note that you can add only one landing page per campaign, so to test different landings you need to launch a separate pop ads campaign!
2. Choose a country
We recommend setting targeting options as wide as possible, unless you’ve already worked with the region and need to target a certain audience from a city, or a region. If you run a pop campaign in a broader region — you will get more info for further optimization.
3. Choose a device to run your campaign on
You can setup your pop ads campaign on Desktop (computer), Mobile or Tablet. We recommend running separate campaigns for desktop and mobile traffic, since CPM size and landing page format for those differ.

4. Set Visits cap
Visits cap regulates the amount of times a user gets shown your popunder ad. To prevent overwhelming users with your campaign we recommend setting this parameter to 1 visit per user for a period of 1 visit per day. But if you urgently need to gather as many impressions as possible you can adjust this visit’s cap, for example in case of an upcoming big event like the Football World Cup.

5. Set Cost per mille and budget options
We suggest setting the recommended CPM bid which you can see on the right. It’s calculated based on auction bids, and setting the recommended amount allows you to get enough traffic and conversions for further optimisation.
Set the budget amount for your pop ads campaign it will be starting off from. Then set ‘Per day’ so the budget will be spent during the day. Don’t forget to set ‘ASAP’ as this allows to get up to 30% more traffic with the same CPM. These two options allow you to get the results of your campaign as fast and informative as possible.
After that set the desired CPA goal, which you can figure out based on the offer CPA, but slightly reducing or increasing it. Don’t lower or higher the actual CPA goal too much, set it at that amount, so according to your budget and bid you can get at least 30 conversions!
6. Set up Advanced pop campaign targeting (optionally)
It’s better not to narrow down the Advance targeting options, unless your offer specifies this. For example, if you’re about to promote a mobile offer for a certain mobile provider.
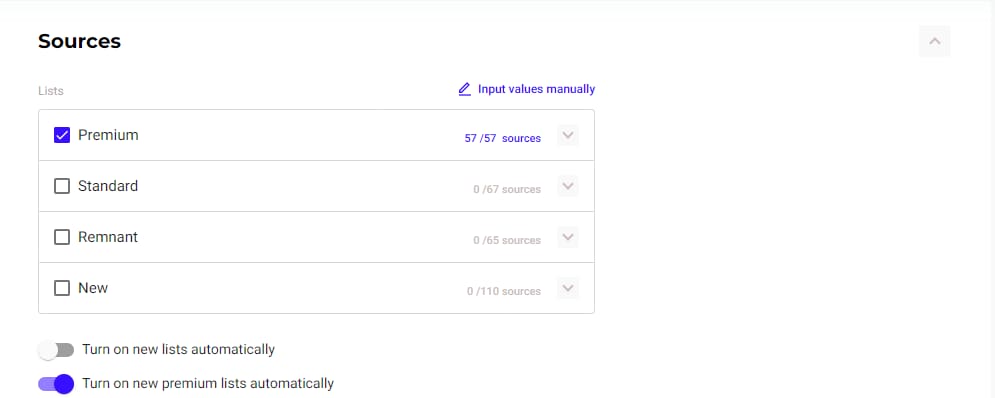
7. Start with Premium sources
At RichAds we divide traffic into four groups: Premium, Standard, Remnant and New.
Premium — contains sources with the highest performance, no matter what niche your offer is from. We recommend you to start a popup or popunder campaign with Premium so that you can get the most demonstrative results for further analysis and optimization. Based on the performance of Premium sources the whitelists and blocklists will be composed.
Standard, Remnant and New are good for scaling your campaign, after getting initial results and running it for a while.
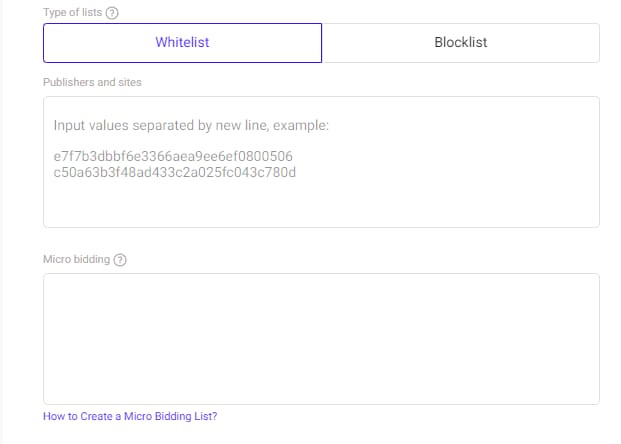
8. Whitelists and blocklists
Whitelist — is a list of traffic sources that convert the most at the desired price.
Blocklist — is a list of poorly performing traffic sources, that bring not many conversions, or they’re too expensive.
Composing whitelists to target only converting sources, and turning off sources from blocklists are the crucial steps of campaign optimisation. While running a campaign in Performance Mode whitelists will be provided automatically as the system detects what’s best for your campaign.
If you have whitelists or blocklists prepared that you are sure of based on previous campaigns — you can add them right away! Also you can get whitelists and blocklists from your managers in advance.
Note: Premium sources can be set to add new sources automatically, so while the whitelists are being composed, these two features will operate at the same time. This gets your campaign to the point of getting the best results!
9. Set schedule for your campaign
We recommend you to setup your popunder campaign running full-time to be able to detect when your audience is most active, unless your offer contains call-center assistance. In this case specify its working hours and set the schedule accordingly.
Interesting fact!
Once we came across a case when it turned out a Gambling offer was most profitable for Norway at certain hours a day, specifically early in the morning. This was realised only after running a pop campaign 24/7 for a while.
What is RichAds?
Ad network for telegram ads,
high quality push and popunder ads,
domain redirect, native and display traffic source,
buy push ads at $0.005 (CPC), pop ads at $0.5 (CPM),
domain ads costs start from $1.5 (CPM), native ads — from $0.001 (CPC),
ad network offers large volumes of traffic in more than 200 geos from Tier 3 to Tier 1.
Additional options for launching a campaign on popunders
As you’ve already setup the main steps for the pop ads campaign, you can consider paying attention to these additional options: Micro bidding and Automated rules. They are not necessary, but in order to get maximum profit — you better adjust them as well!
Also, if you’ve launched a campaign before and saved Micro bidding or Automated rules parameters — you can use them while launching a new one!
Adjusting Micro bidding
Micro bidding allows making a custom bid for a certain parameter of your campaign. You can use it to save money and time because you don’t need to create multiple split pop ads campaigns to target specific parameters at desired CPM.
Check our article about Micro bidding feature to learn more about how to set micro bidding to your campaign!
Setting Automated rules
Automated rules allow you to set certain rules, by which the traffic sources will be automatically sorted into either whitelist or blocklist. You can set them to be sorted according to conversions they bring during a period of time, CR price, etc.
Warning!
In Performance Mode you can setup Automated rules for your popunder campaign only after integrating conversion tracker. To learn how to integrate a post back conversion tracker to your campaign — check our articles on ‘Affiliate tracking tutorials’
Check out popunder case studies on RichAds pop traffic – the real examples of effective pop campaigns:
- Pop Ads Case Study: Running an E-Commerce Offer in Vietnam (Shopee App)
- Pop Ads Case Study: 310% ROI with Gaming Mobile Subscriptions
- Pop Ads Case Study: mVas Offer On Peru With a 180.58% ROI
- Pop Ads Case Study: Gambling offer on Bangladesh with 119% ROI
- Pop Ads Case Study: Casino offer with 74.48% ROI in Japan
Watch Onboarding webinar on how to setup a pop campaign and make a profit
What is RichAds?
Ad network for telegram ads,
high quality push and popunder ads,
domain redirect, native and display traffic source,
buy push ads at $0.005 (CPC), pop ads at $0.5 (CPM),
domain ads costs start from $1.5 (CPM), native ads — from $0.001 (CPC),
ad network offers large volumes of traffic in more than 200 geos from Tier 3 to Tier 1.

FAQ: Pop campaign targeting
Which verticals convert best with pop traffic?
According to RichAds ad network data, pop traffic performs best in Gambling, Betting, Dating, E-commerce, and Finance. Pop ads ensure massive reach and low CPM and have fewer creative restrictions than traditional formats, which makes them ideal for testing and scaling campaigns in gray niches.
How to choose the right sources for pop ads?
Consider traffic quality, targeting capabilities, and optimization tools the network provides. The best pop ad networks (like RichAds) offer diverse inventories, large GEO coverage, and strong filtering options. Using automated optimization features like Performance mode or Automated rules, you can focus on top-converting sources and get maximum ROI.